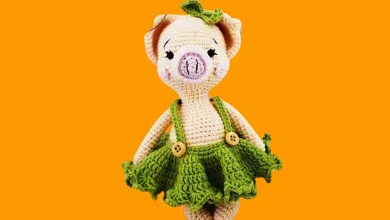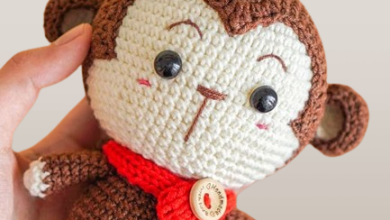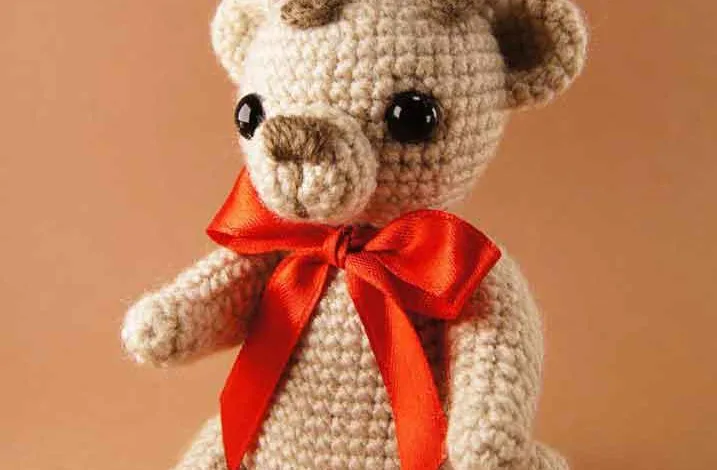
Crochet Bear Amigurumi Pattern, One of the most fun ways to express your creativity and create cute toys in the world of knitting is to knit cute animals with Amigurumi techniques. Our special guest this time is the knitting teddy bear, one of the favorite characters of the knitting world! Here is the knitted teddy bear Amigurumi pattern that opens the doors to a lovely world.
To crochet a cake bear you’ll need:
- Super fine 100% acrylic yarn (200 m / 50 g) in beige, brown, red and white colors
- 2.0 mm crochet hook
- Fiberfill
- 7 mm safety eyes
- Buttons for joining head, arms and legs (Ø 1.5 cm – 4 pcs, Ø 1.7 cm – 6 pcs)
- Thread strong enough for fastening head, arms and legs
- 30 cm long satin ribbon
Skill level: intermediate
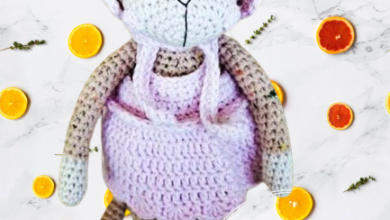
This crochet cake bear is about 13 cm (5.1″) when sitting, if you use similar yarn and hook. The pattern can also work well with the yarn of other weight, but the size of finished crochet toy will be different.


Crochet Bear Free amigurumi pattern
Abbreviations:
ch = chain
st = stitch
sc = single crochet
inc = increase (2 sc in one st)
dec = decrease (2 sc together)
sl st = slip stitch
hdc = half double crochet
dc = double crochet
(..) = repeat the space in brackets the given number of times
[..] = total number of stitches
Please note that this pattern describes button joint method of fastening head, arms and legs. If you use this method your crochet cake bear will be able to turn its head and move limbs.
Head:
Crochet with beige yarn.
Rnd 1: 6 sc in magic ring [6]
Rnd 2: (inc) repeat 6 times [12]
Rnd 3: (sc in next st, inc) repeat 6 times [18]
Rnd 4: (sc in next 2 st, inc) repeat 6 times [24]
Rnd 5: (sc in next 3 st, inc) repeat 6 times [30]
Rnd 6: (sc in next 4 st, inc) repeat 6 times [36]
Rnd 7: (sc in next 5 st, inc) repeat 6 times [42]
Rnd 8-14: sc in all 42 st [42]
Rnd 15: (sc in next 5 st, dec) repeat 6 times [36]
Rnd 16: (sc in next 4 st, dec) repeat 6 times [30]
Insert safety eyes between Rnd 10 and Rnd 11 (9 stitches between the eyes).
Rnd 17: (sc in next 3 st, dec) repeat 6 times [24]
Rnd 18: (sc in next 2 st, dec) repeat 6 times [18]
Stuff the head tightly with fiberfill. Take a strong thread and fold it several times. Pass the thread ends through the button (Ø 1.7 cm) and tie a knot. Insert the button into the head like it’s shown in the picture below, leaving the thread ends outside.

Rnd 19: (sc in next st, dec) repeat 6 times [12]
Rnd 20: (dec) repeat 6 times [6]
Fasten off and weave in the end.